- About Us
- Products
- Installation
- Service
- Reports
- Contact Us

Everpure Equipment Installation
Steps

Everpure Equipment Installation & Filter Replacement
Details
- Details
- Picture 1
- Picture 2

Everpure Equipment Installation
Step 1
Installation Step 1
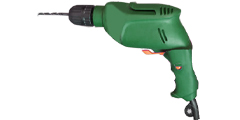
Content : Drilling a hole
Action
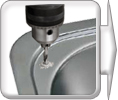
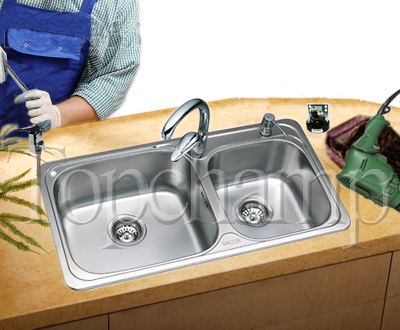
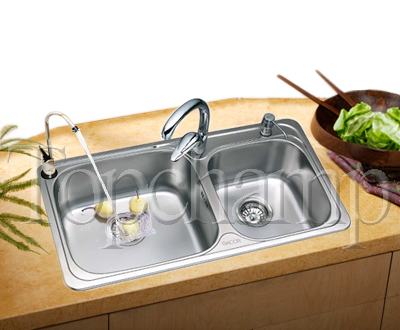
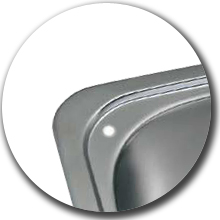
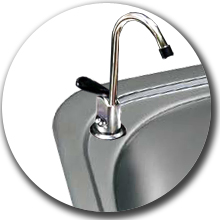
Drilling a hole on a suitable location of the sink, it actually will be a preparation step for next step to install individual tap.
Remark
The hole diameter will not be longer than 0.9 cm and usually located on the top right or top left corner.

Optional Accessories
Items
Optional Accessories (Customers can choose favorite equipment
accessories according to their needs.)
accessories according to their needs.)

Installation Tools
Items
Installation Tools (Tools will be prepared by our staff.)

Picture One
Description
Picture 1
Content : Drilling a hole
Left Picture
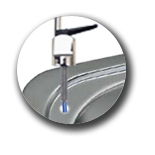
According to the actual environment and kitchen setting, our stuff will find out the most suitable location for drilling a hole.
Right Picture
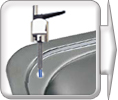
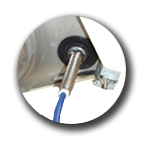
Our stuff will mark the suitable location and measure the hole diameter carefully in order to make sure that will be longer than 0.9 cm.


Picture Two
Description
Picture 2
Content : Drilling a hole
Left Picture
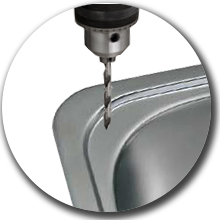
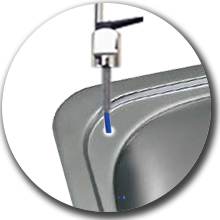
Confirmed the suitable location, our stuff will drill the hole immediately.
Right Picture
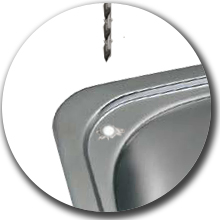
Drilled a hole, our stuff will clean the sink table briefly to collect some fragments from hole drilling.
- Details
- Picture 1
- Picture 2

Everpure Equipment Installation
Step 2
Installation Step 2
Content : Install an individual tap and connect it to the cartridge
Action
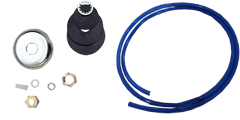
Installing the new individual tap for pure water, our stuff will connect the cartridge to the individual.
Remark
Usually, our stuff will install an individual tap at first and then connect whole set of equipment to the water supply. However, our stuff may change the installing and connecting priorities alternatively depending on the actual environment and kitchen setting.

Installation Tools
Items
Installation Tools (Tools will be prepared by our staff.)


Picture One
Description
Picture 1
Content : Install an individual tap and connect it to the cartridge
Left Picture
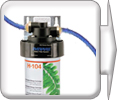
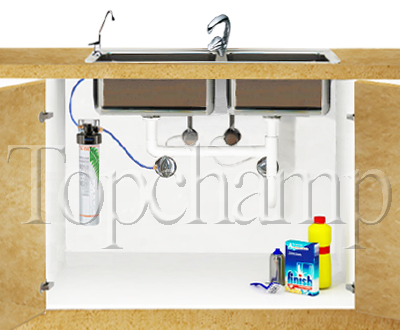
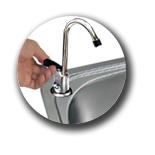
For installing the individual tap, our stuff will connect an individual tap to the cartridge with pipe.
Right Picture
Then, our stuff will fix an individual tap on the hole stably.


Picture Two
Description
Picture 2
Content : Install an individual tap and connect it to the cartridge
Left Picture
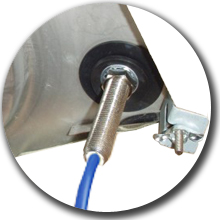
On this step, our stuff will check the individual tap and connecting pipe again to ensure that the tap is installed stably.
Right Picture
Ok, the individual tap is installed stably and connected to the cartridge completely.
-
44444
- Details
- Picture 1
- Picture 2

Everpure Equipment Installation
Step 3
Installation Step 3
Content : Connect the cartridge to the water supply
Action
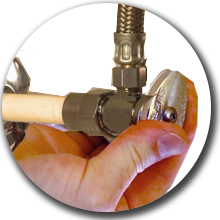
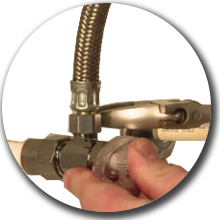
For connecting the cartridge to the water supply, our stuff will connect the individual tap to the cartridge with it’s “in” and “out” water entrances by pipe.
Remark
For connecting smoothly, we must ensure that the water supply shut-off value must be closed during the pipe connecting.

Installation Tools
Items
Installation Tools (Installation Tools (Tools will be prepared by our staff.)


Picture One
Description
Picture 1
Content : Connect the cartridge to the water supply
Left Picture
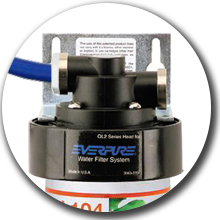
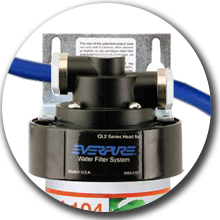
For connecting the cartridge to the water supply, our stuff will connect the individual tap to the cartridge with it’s “in”entrances by pipe at first.
Right Picture
Then, stuff will repeat the same action to connect cartridge to the water supply with it’s “out” water entrances.

Picture Two
Description
Picture 2
Content : Connect the cartridge to the water supply
Left Picture
Ensure that the water supply shut-off value is closed for further installation.
Right Picture
Connect the cartridge to the water supply.
-
44444

- Details
- Picture 1
- Picture 2

Everpure Equipment Installation
Step 4
Installation 4
Content : Final Check
Action
For completing the installation, our stuff must check each part of the installation again carefully.
Remark
For ensuring the whole set of water equipment in good condition, routine check should be carried out at most every 6 months.

Installation Tools
Items
Installation Tools (Installation Tools (Tools will be prepared by our staff.)


Picture One
Description
Picture 1
Content : Final Check
Left Picture
Redo the installation check all over again in order to ensure the installation is completed successfully.
Right Picture
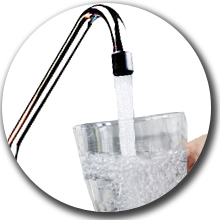
Observe the condition of water flow and pressure.


Picture Two
Description
Picture 2
Content : Final Check
Left Picture
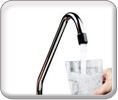
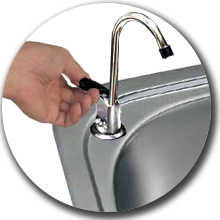
Satisfied with result of final check, customer can enjoy the pure water now.
Right Picture
Installation is done completely but we strongly recommend that the routine check should be carried out at most every 6 months.


Everpure 美國愛惠浦
濾芯

Everpure 美國愛惠浦
濾芯


Everpure 美國愛惠浦
濾芯


Everpure 美國愛惠浦
濾芯


Everpure 美國愛惠浦
濾芯
- Details
- Picture 1
- Picture 2

Everpure Filter Replacement
Step 1
Filter Replacement Step 1
Content : Release old cartridge
Action
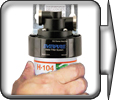
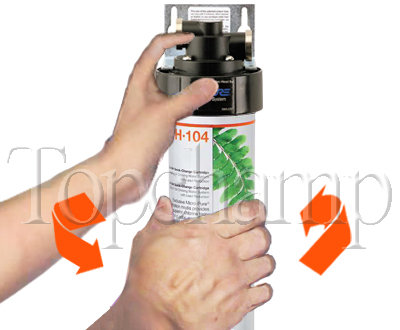
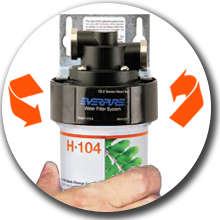
Close the shut-off value. Turn the cartridge to left and release.
Remark
For replacing smoothly, we must ensure that the cartridge shut-off value must be closed during the replacement.

Optional Cartridge Models
Items
Tools (Tools may be used for routine checking.)


Picture One
Description
Picture 1
Content : Release old cartridge
Left Picture
Close the shut-off value and turn the cartridge.
Right Picture
Release old cartridge.


Picture Two
Description
Picture 2
Content : Release old cartridge
Left Picture
Release old cartridge totally.
Right Picture
Prepare to insert new cartridge.
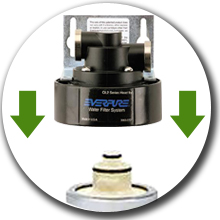
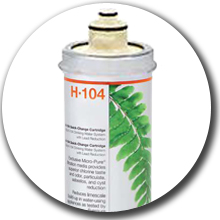

Everpure 美國愛惠浦
濾芯


Everpure 美國愛惠浦
濾芯


Everpure 美國愛惠浦
濾芯


Everpure 美國愛惠浦
濾芯


Everpure 美國愛惠浦
濾芯


- Details
- Picture 1
- Picture 2

Everpure Filter Replacement
Step 2
Filter Replacement Step 2
Content : Insert new cartridge
Action
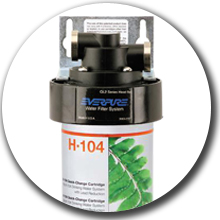
Insert new cartridge. Turn the cartridge to right and open the shut-off value.
Remark
All cartridges should be replaced at most every 12 months depending on water
pressure, volume and quality.

Optional Cartridge Models
Items
Tools (Tools may be used for routine checking.)


Picture One
Description
Picture 1
Content : Insert new cartridge
Left Picture
Clean the cartridge head with towel softly and briefly for further replacement.
Right Picture
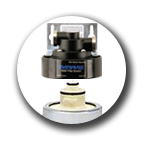
Insert new cartridge.
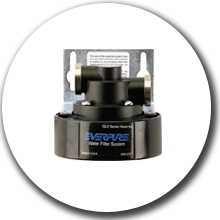
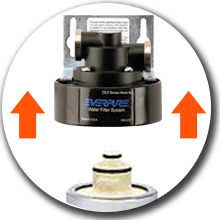

Picture Two
Description
Picture 2
Content : Insert new cartridge
Left Picture
Turn the cartridge to right and open the shut-off value.
Right Picture
Replacement is done completely but we strongly recommend that the filter should be replaced at most every 12 months.

Everpure 美國愛惠浦
濾芯


Everpure 美國愛惠浦
濾芯


Everpure 美國愛惠浦
濾芯


Everpure 美國愛惠浦
濾芯


Everpure 美國愛惠浦
濾芯


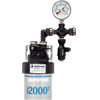
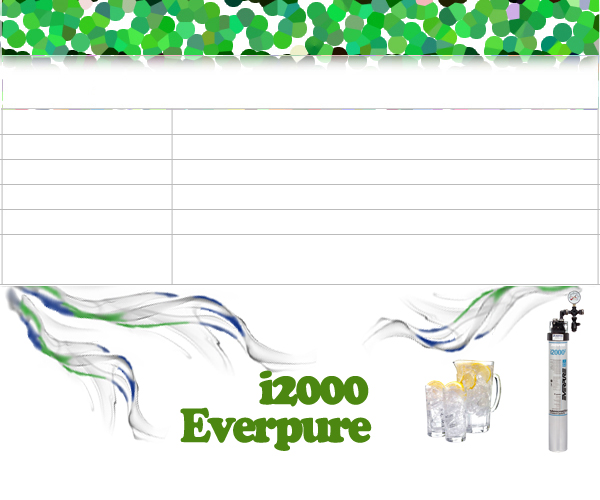
i2000
品牌 : EVERPURE 美國愛惠浦
型號 : i2000 商用濾芯
最新功能
MIRCO-PURE II - 最新改良顯微純化配方的濾料,可抑制細菌增長,極高品質活性碳,吸附力強,用量多體積最小,吸附面積極大
設計
* 設計 - 當濾水功能完全飽和時會自動斷水
* 設計 - 對衡式壓力裝置,可抵受125psi水壓力
* 設計 - 多摺複濾式設計,過濾面積大,多重複濾
* 設計 - 對衡式壓力裝置,可抵受125psi水壓力
* 設計 - 多摺複濾式設計,過濾面積大,多重複濾
功能
* 過濾 - 隔除 99.9% 鉛毒
* 過濾 - 隔除 95-100% 氯氣及水中異味
* 過濾 - 隔除積聚於水煲或冷熱水機之白色垢膜
* 過濾 - 隔除 99.9% 體積細至 0.5 微米或以上之雜質
* 除垢 - 隔除積聚於水煲或冷熱水機之白色垢膜
* 過濾 - 隔除 95-100% 氯氣及水中異味
* 過濾 - 隔除積聚於水煲或冷熱水機之白色垢膜
* 過濾 - 隔除 99.9% 體積細至 0.5 微米或以上之雜質
* 除垢 - 隔除積聚於水煲或冷熱水機之白色垢膜
特別適合
* 特點 - 適合商用製冰機
- 1
- 2
- 3
- 4
- 5

Everpure 美國愛惠浦
濾芯

Everpure 美國愛惠浦
濾芯


Everpure 美國愛惠浦
濾芯

Everpure 美國愛惠浦
濾芯


Everpure 美國愛惠浦
濾芯


Everpure 美國愛惠浦
濾芯


Everpure 美國愛惠浦
濾芯


Everpure 美國愛惠浦
濾芯


Everpure 美國愛惠浦
濾芯


MC2
品牌 : EVERPURE 美國愛惠浦
型號 : MC2 商用濾芯
最新功能
MIRCO-PURE II - 最新改良顯微純化配方的濾料,可抑制細菌增長,極高品質活性碳,吸附力強,用量多體積最小,吸附面積極大
設計
* 設計 - 當濾水功能完全飽和時會自動斷水
* 設計 - 對衡式壓力裝置,可抵受125psi水壓力
* 設計 - 多摺複濾式設計,過濾面積大,多重複濾
* 設計 - 對衡式壓力裝置,可抵受125psi水壓力
* 設計 - 多摺複濾式設計,過濾面積大,多重複濾
功能
* 過濾 - 隔除 99.9% 鉛毒
* 過濾 - 隔除 95-100% 氯氣及水中異味
* 過濾 - 隔除積聚於水煲或冷熱水機之白色垢膜
* 過濾 - 隔除 99.9% 體積細至 0.5 微米或以上之雜質
* 除垢 - 隔除積聚於水煲或冷熱水機之白色垢膜
* 過濾 - 隔除 95-100% 氯氣及水中異味
* 過濾 - 隔除積聚於水煲或冷熱水機之白色垢膜
* 過濾 - 隔除 99.9% 體積細至 0.5 微米或以上之雜質
* 除垢 - 隔除積聚於水煲或冷熱水機之白色垢膜
特別適合
* 特點 - 適合商業機構或食品工廠
- 1
- 2
- 3
- 4
- 5

EVERPURE美國愛惠浦
濾芯
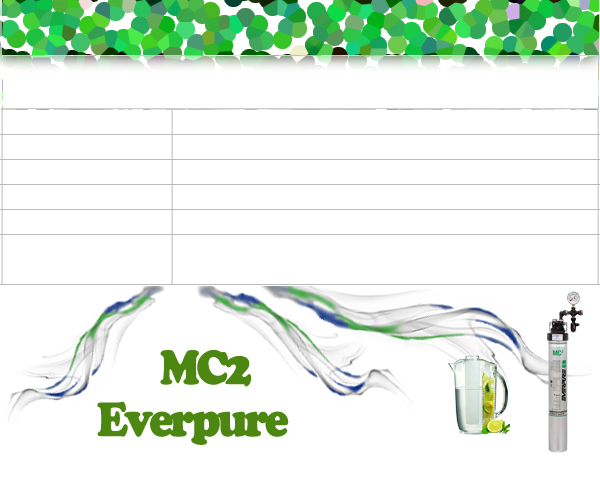

Everpure 美國愛惠浦
濾芯


Everpure 美國愛惠浦
濾芯


Everpure 美國愛惠浦
濾芯


Everpure 美國愛惠浦
濾芯


Everpure 美國愛惠浦
濾芯


Everpure 美國愛惠浦
濾芯


Everpure 美國愛惠浦
濾芯


Everpure 美國愛惠浦
濾芯


